File Juicer for macOS
Recover Images from Flash Cards
 Flash cards do get corrupted, but usually it is not so serious and most of the images can be recovered.
Safety First
To recover photos safely from flash cards, File Juicer reads every byte from entire flash card and stores it in a "Disk Image" file.
This way, the card is only read once and you can unplug it. File Juicer does not attempt to fix anything on the flash card at all.
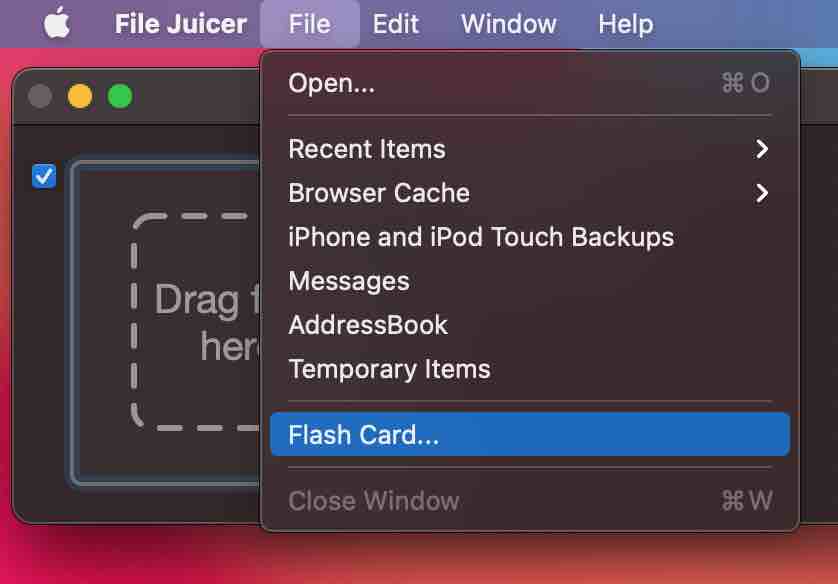
To start the recovery, insert your card in your card reader, wait until it shows up in Finder and then in File Juicer choose "Flash Card..." from the File Menu.
The Search for Lost Files
After File Juicer has created the disk image, it continues to The Search. Byte for byte the entire disk image is searched for the lost files.
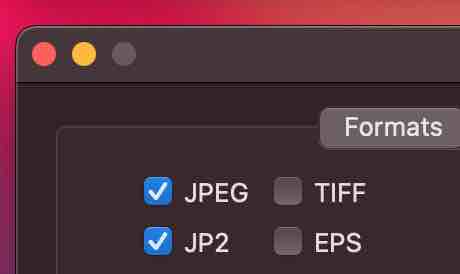
File Juicer will search the disk images for the file types you check in the preferences, most likely you will look for JPG files. If your flash card is from a cell phone, you may look for mp3, or 3gp files too. Some cameras can create RAW files and File Juicer will recognice most types (NEF, CR2, DNG, CRW - listed here). If the raw format is not recognized or damaged, File Juicer will find and recover the JPEG previews usually found inside the RAW files.
When Will it Work?
If you can see the card in Finder, File Juicer can make a disk image of it, and extract the images which have not been damaged or overwritten.
You could be surprised to find really old photos on the flash card if the last time you filled it up was on that vacation a long time ago.
You can use this if you deleted the images by accident, or if you somehow lost them on your Mac.
If you know you only want to recover JPEG images from the flash card, you can speed up File Juicer by only checking the JPEG checkbox in the preferences.
Free Trial
You can try File Juicer before you buy. The recovered JPEG files will have watermarks, but you will know what it can recover. When you have registered File Juicer you can take the disk image ".dmg" file and drop it onto File Juicer to have the same recovery done without the watermarks.Create Disk Images Manually
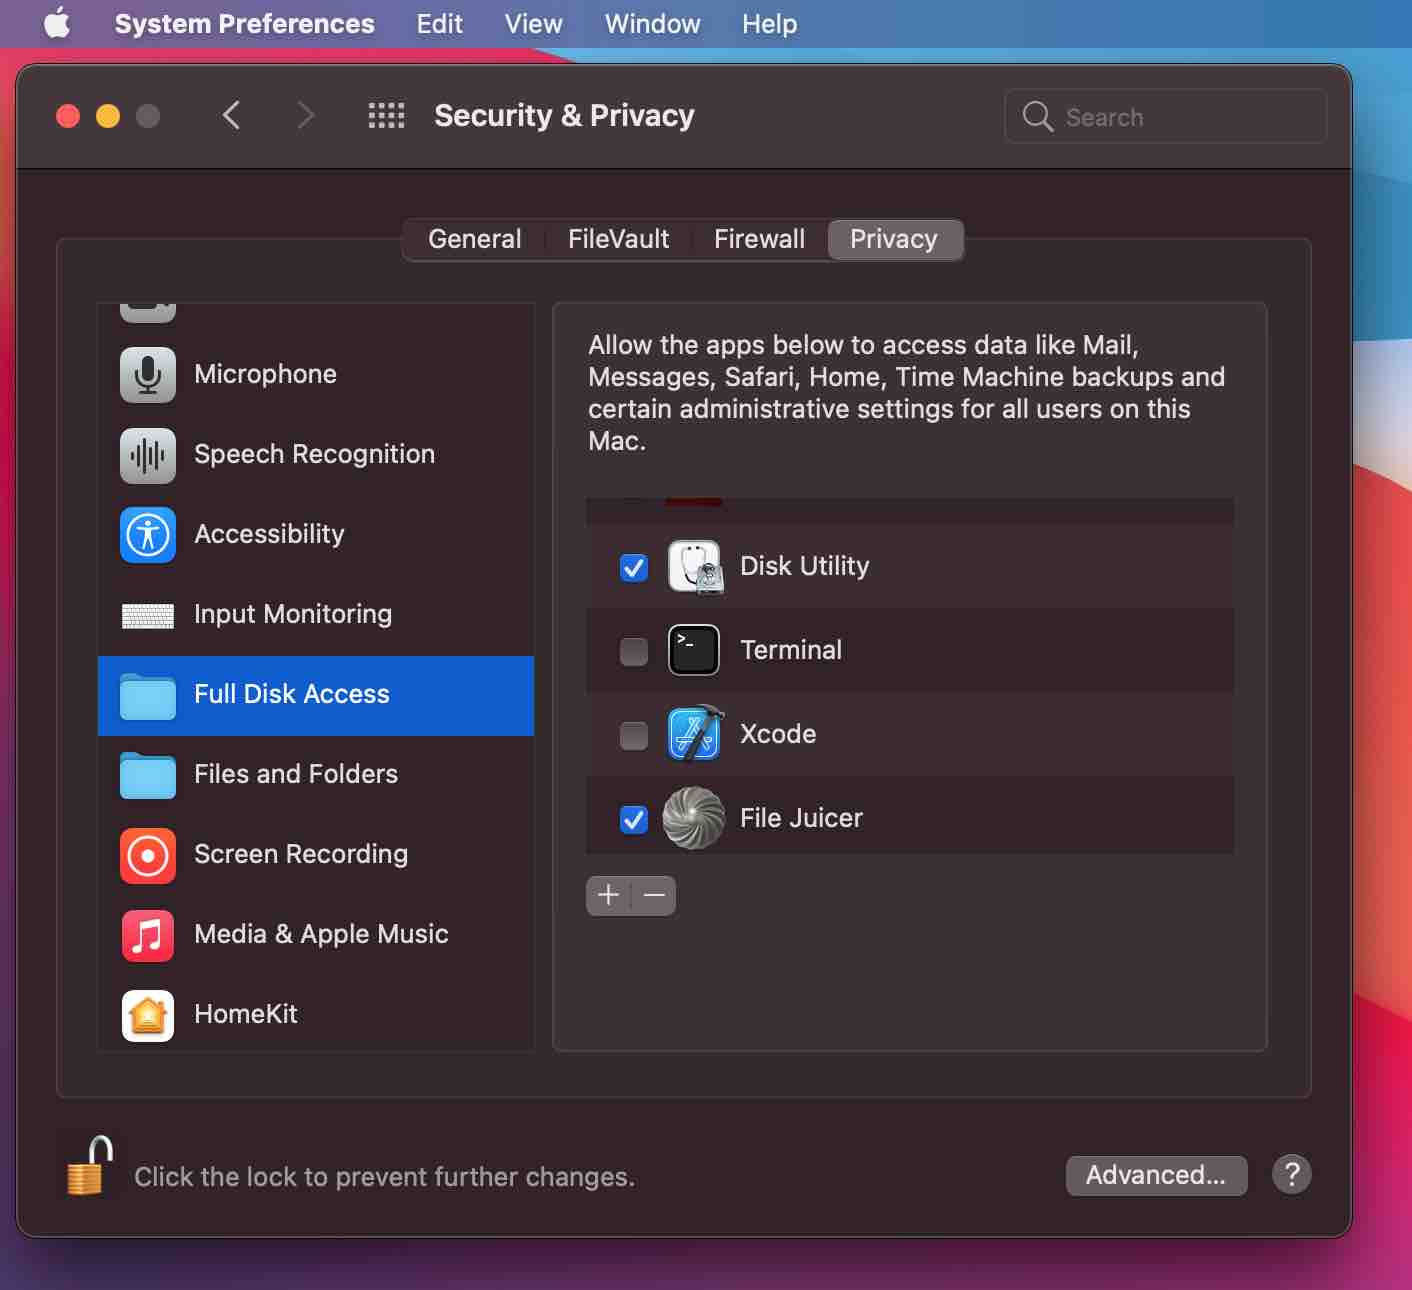
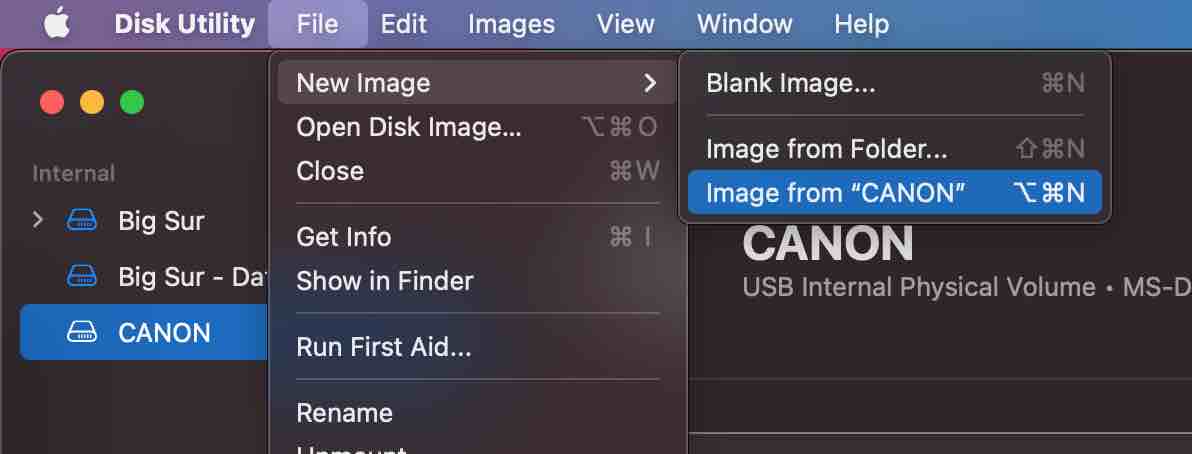
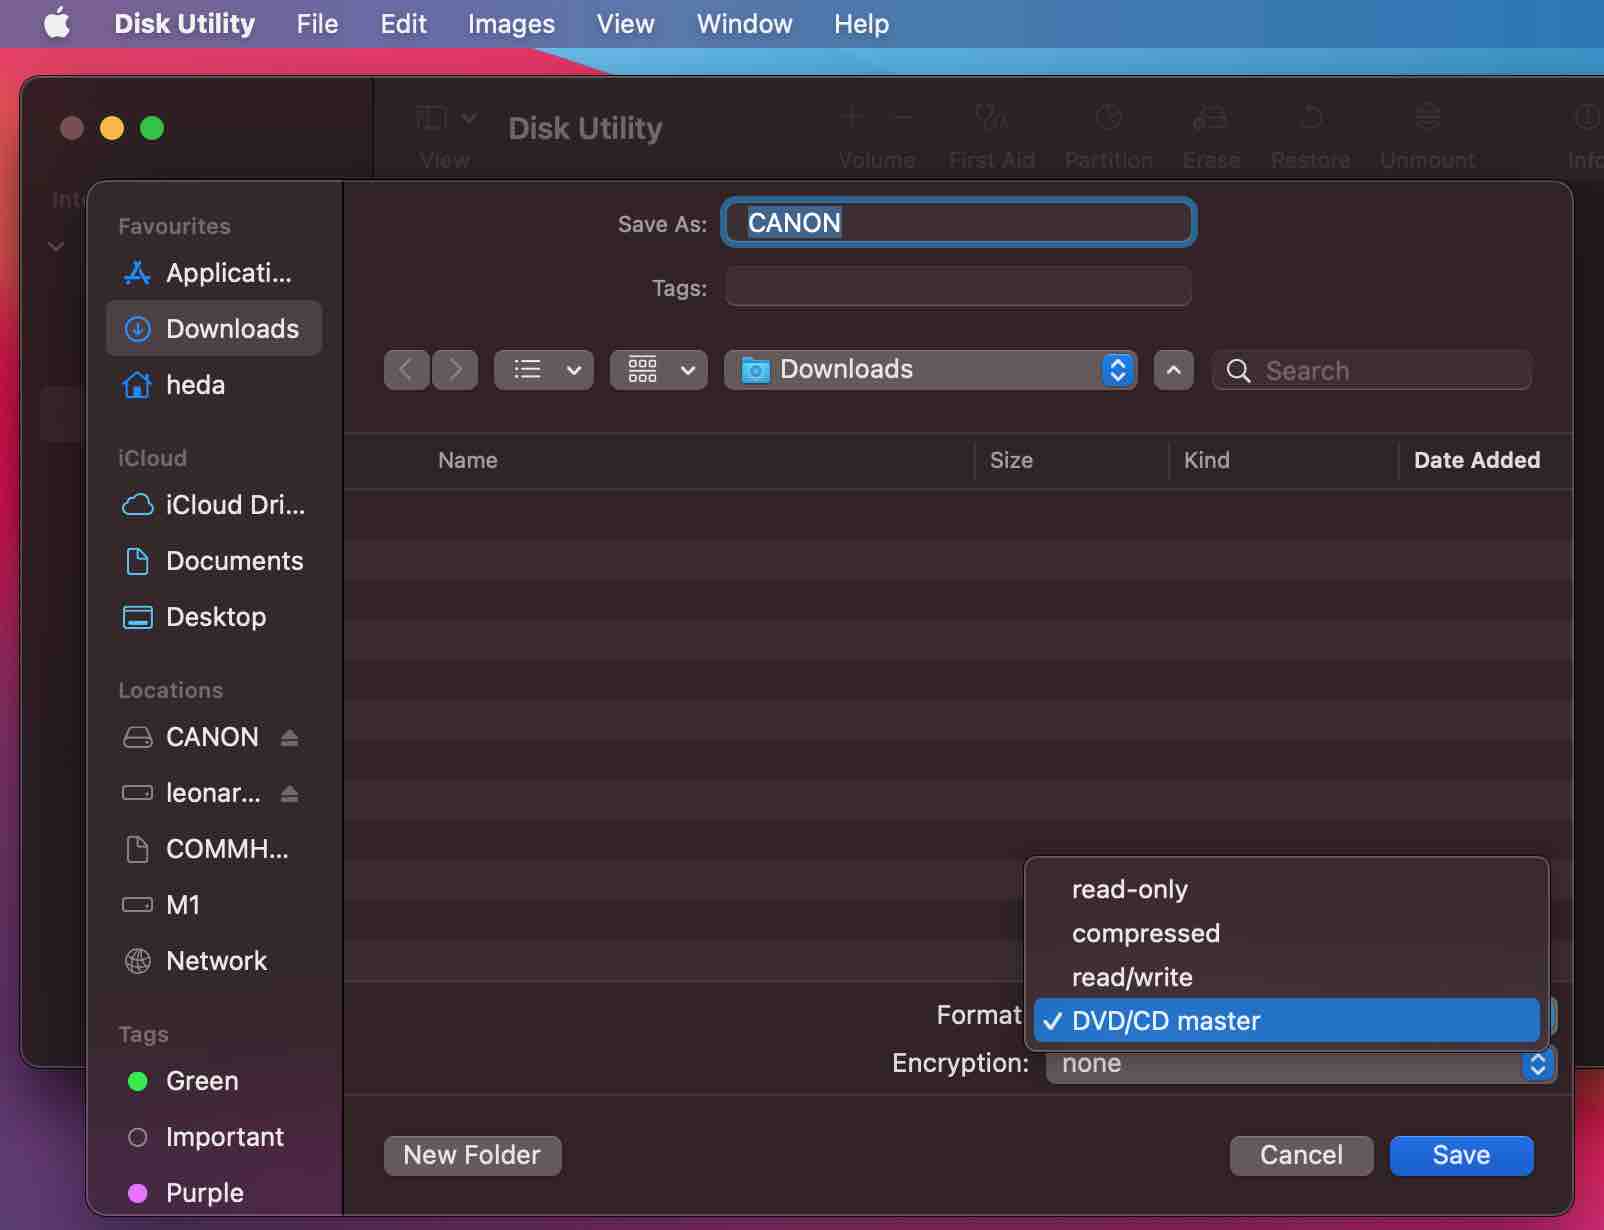
You can use Disk Utility which you find in your Applications > Utilities folder. When you have saved the (DVD/CD master) Disk Image, you can drop it into File Juicer.
