
File Juicer for macOS
Carving Files from Flash Cards and Hard Disks
Recovering Files from Flash Cards
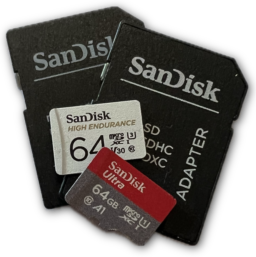
File Juicer can recover files from erased or corrupted flash cards by performing an in-depth search across the entire card. The process begins with creating a disk image of the flash card, ensuring that the card is read only once, minimizing wear and preventing any accidental writing. Once the disk image is made, File Juicer thoroughly scans it from end to end to extract any recoverable files.
Using Disk Utility for Hard Disk Forensics

You can use File Juicer to search hard disks in a similar manner, but due to the larger size of hard drives, the process will take significantly longer and require enough storage for the extracted data. While File Juicer does not have a dedicated menu option for this function, it works effectively with a disk image of the hard drive, created with uncompressed, read-only settings. macOS's Disk Utility is a great tool for creating such a disk image and can even handle PC hard disks when connected via FireWire or USB.
It's important to note that this method pushes File Juicer beyond its typical design. For large hard drives, you may want to disable the “image feedback” checkbox in the top left corner of File Juicer to reduce the chance of crashes, as fragmented or corrupt files can cause unexpected quits.
While File Juicer can recover files regardless of the file system (e.g., HFS or FAT), it will not find fragmented files. Because of this limitation, I don't recommend using File Juicer for hard disk recovery as it does not analyze the structure of the file system itself.
This revision adds more structure and clarity, making it easier for users to understand the process while highlighting potential limitations.
Origin of found Files and File Juicer's Log Files
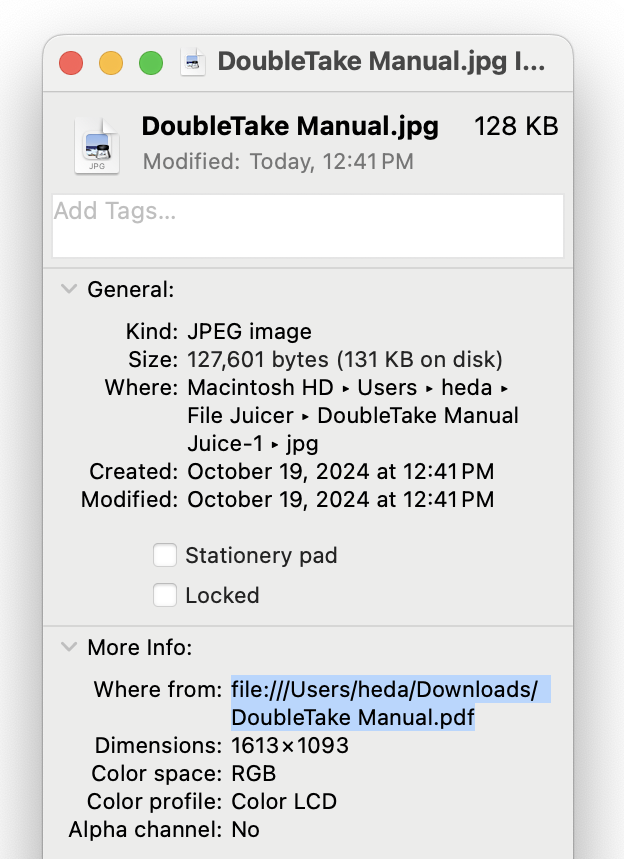
File Juicer can do a lot of searching and it does keep some track of where the file was found to make further investigation easier.
It writes this info in Finder's "Get Info -> More Info -> Where from". If it can determine a download location in a browser cache file it will use this instead.
File Juicer saves two log files in your ~/Library/Logs folder. "FileJuicerLog.txt" records which files have been searched and "FileJuicerResultsLog.txt" what has been found. The results log lists several columns of information. Sample Log. The first column is the offset in bytes from the beginning of the file and the next number is the size of the found file. Then follows the type of the extracted file, its "number" counting from the beginning of the file, the file name it is extracted from (which may be a temporary file), the file which was juiced (and which may itself contain files) and lastly a checksum (used to eliminate duplicates).
File Juicer can detect compressed data embedded with the bz2 and deflate algorithms. This will save out files with the extension .inflated or .un-bzip2ed, with an offset in the file name. This will also show up in the log file as those are juiced after being decompressed. If a regular zip file is found inside, it is saved out as such, so you can decompress it manually.
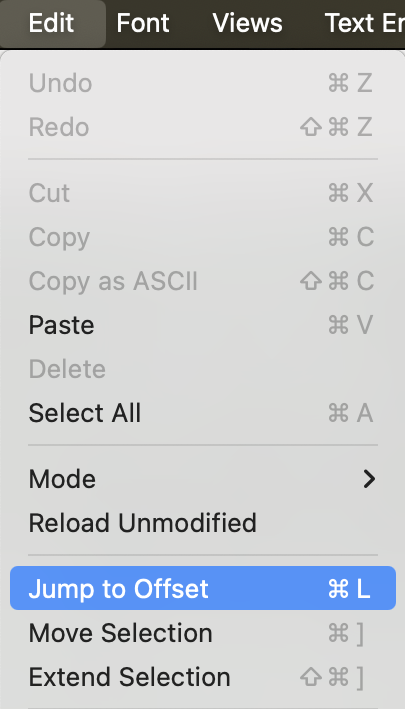 When a file is extracted from inside an other file, the offset can be used to verify this with a hex editor like
Hex Fiend. Use the "Jump to Offset" in the Edit menu and the "Go to address" in
the Find menu to go to the offset found in the log file.
![]() The URL files generated by File Juicer are not web pages visited, but URLs found inside any of the files dropped
on File Juicer. If you drop a HTML file on File Juicer it will look for anything which looks like a URL and save it
to the URL file. HTML allows for easy hiding of URLs so not everything possible is found, just what is there as
plain text.
The URL files generated by File Juicer are not web pages visited, but URLs found inside any of the files dropped
on File Juicer. If you drop a HTML file on File Juicer it will look for anything which looks like a URL and save it
to the URL file. HTML allows for easy hiding of URLs so not everything possible is found, just what is there as
plain text.
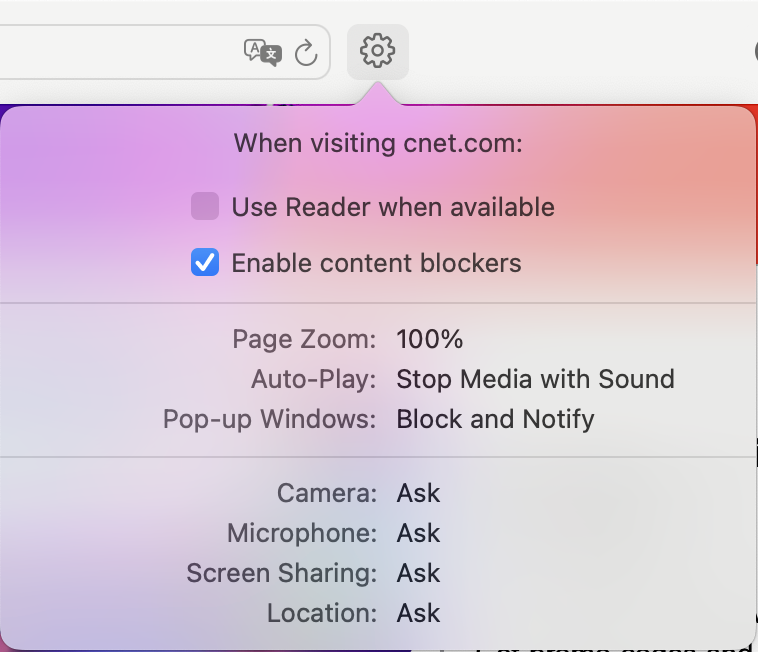 One last note about Safari's cache files: what ends up in the cache may not end there deliberately. Some web sites
push content into the face of people passing by, without any clicks needed. Safari offers some ways to block
popup windows and the like, but it will not block everything. If the web site in question is still active one can do
a test visit to see if active browsing was needed.
Contact
This is the features of File Juicer i believe is most relevant for forensics, but let me know if you have more tips I should include or features you would like.
Henrik Dalgaardsupport@echoone.com
File Juicer as a Forensics Tool - "Carving"
File Juicer was originally designed to extract images out of PowerPoint presentations and to recover photos from erased or corrupted flash cards. It has since learned to recognize a lot of file types and become a "swiss army knife" for data recovery/extraction not from hard disk images (although it can) but from files of any kind. In forensics terminology this is called "carving". Here I collect the tips and features I hear about when using File Juicer in forensics.
File Juicer's main page, manual and the format overview have more general information.
Image Search
Many applications make low resolution images and cache files to get good performance.
Apple Photos
Is an excellent example on an app which keeps all the images it catalogs in several resolutions ranging from tiny icons to the original untouched high resolution photo. The low resolution photos are ordinary JPEG files and directly accessible with Finder, but its icon caches are in Photos's private format. File Juicer can open these files and extract all the icons even for photos which have been deleted from the Photos library.
Safari
Safari is the most known application which caches a lot of files. It too uses its own internal format for its cache, and File Juicer can extract the images from the cache files, the same way as with iPhoto's internal cache files. Many other application (iChat, Dashboard, Mail) use Safari format cache files too, and while they are not all shown in File Juicer's menu you can drop them on File Juicer from Finder and get the images extracted the same way.
Google Chrome
Google Chrome makes a cache too, and it has its own private cache file format which makes nesseccary to carve out files. Afterwards you can browse the found files in Finder.
Firefox
Firefox makes a cache too, and while it does not use a private file format, its cache files does not have a file extension and browsing the cache is not practical. If you let File Juicer process the cache it will make a html index file to the contents which will make it much faster to browse.
iPods and iPhones
 iPods and iPhones can also contain images, video and text which can be searched. You can put the iPod in "hard
disk mode" with iTunes, open its folders and take a look. The most inconvenient format found in there is the
ithmb file format. It is a mess of a file format and every type of iPod has its own
versions of the ithmb files. I try to keep track of this and allow for conversion to tiff. The ithmb files can
also be found inside the iPhoto library, but if more than one kind of iPod is used on the same Mac File Jucier
many not be able to decipher them.